
 Thanks to defining our family’s summer rallying cry we are very focused on making family time a priority. I’m also trying to be more intentional about playing with my girls (something that I’m sorry to say does not come naturally to me). A few weeks ago we had a play date with a new friend who showed us her adorable fairy garden. Charlotte was immediately smitten, and has been persistently mentioning it (see: pestering me) ever since. Because we are planning on moving in a couple months I was hesitant to begin this project, but I finally I realized I had the perfect solution – turn her sensory bin into a fairy garden! It would be self-contained, portable, and we could even put a lid on it and put it away when Little Bit was around (she hasn’t exactly mastered the art of “careful” or “gentle.”) Huge bonus, this was a project that we could create together and something we would both enjoy. Win win. In case you are looking for your own simple fairy garden plan, here’s how we made ours in three easy steps.
1. Shop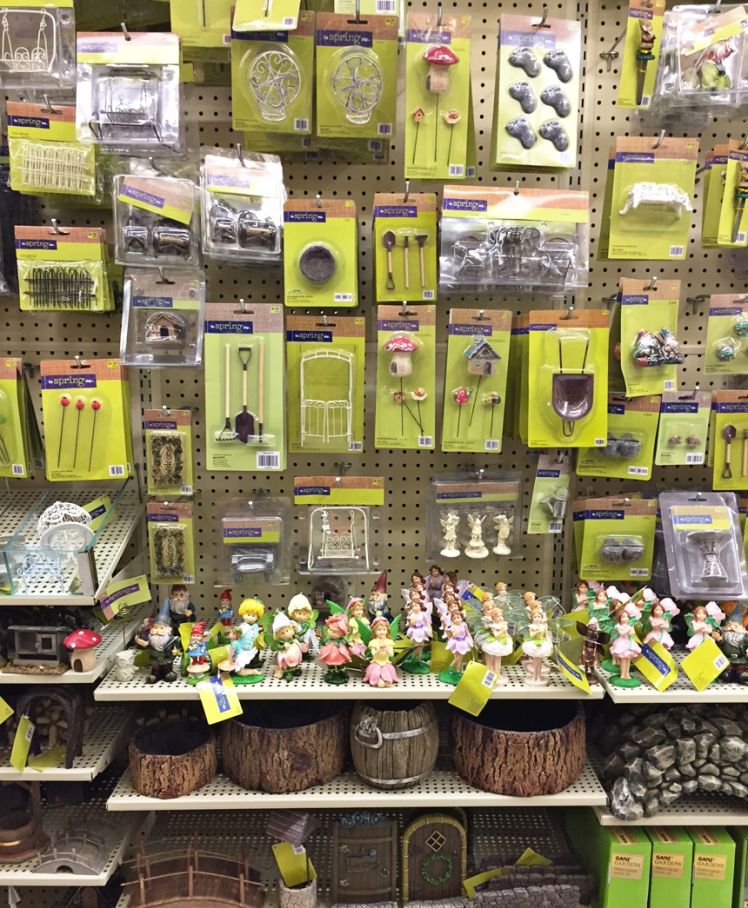 We started at Hobby Lobby (where else). I headed toward the floral section where lo and behold we discovered a whole section devoted to fairy gardens! There were houses, furniture, tiny animals, flowers, gates, doorways…every accessory a fairy could dream of. Unfortunately all these little parts added up quickly, and there was no sale sign in sight. Undaunted (after all the whole point of this project was to create together) I let C pick out a few accessories and then moved on to look for materials that we could turn into our fairy garden props. We scored a bag of smooth pebbles, some mushrooms and a little birdhouse (on clearance from the spring section), and best of all a roll of “ribbon” designed to look like tree bark with moss attached. Combined with things we already had at home I knew we had plenty of stuff to make a charming fairy garden.
2. Craft


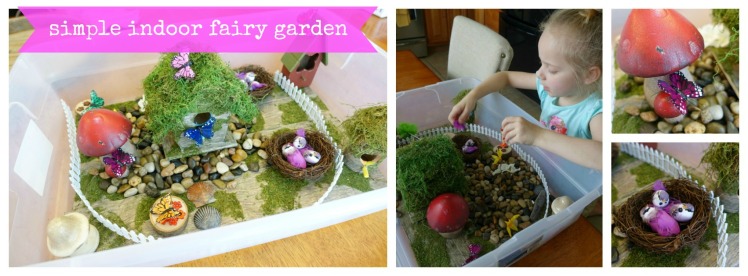
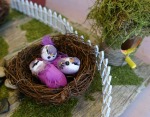
After putting T down for her nap C and I started creating. I plugged in my hot glue gun and grabbed a small birdhouse that C had painted for an earlier sensory bin. I carefully cut the bark ribbon to fit, and glued it around the house. I added clumps of moss to the roof, and voila! A home fit for a fairy princess. I lined the bottom of the plastic container with more mossy bark, and C poured the pebbles onto the bottom. She added the various accessories, arranging the little nests and butterflies just so.


She found a little box and asked if we could turn it into a bathtub for the fairies, embellished with jewels (also from a previous sensory bin). As the final touch I gave her back her little fairy figurines (I had tucked them out of Little Bit’s reach).
3. Play


Once all the pieces were assembled, C dove into the fairy world with abandon. She played happily for half an hour while I cleaned up all the mess (moss is especially crumbly and gets everywhere…I suggest you put down a drop cloth). When I was done she handed me two of the fairies and asked me to play with her in her most convincingly pitiful tone. I took a deep breath and said yes. I followed her lead as we collected food (flowers) and sipped nectar, gave them their baths and put them down for sleep. It was actually kind of fun, but I was relieved when T woke up a few minutes later and demanded release from her crib. 😉
Have you made a fairy garden before? Did you use real flowers and actual dirt? Someday I plan to make a more permanent version, but for now this was definitely a great solution. I’d love to hear your summer sensory bin ideas too!
